By: M. Ahmadad
Sambusa is one of the most popular foods in Somali cuisine, and can be eaten to accompany a main dish or enjoyed simply on its own, with many variations of fillings. And, it also happens to be on the HPSH school lunch menu, so many students have already tasted the beef or lentil options.
For those looking to try their hand at making it, here is a recipe for beef sambusa, courtesy of my mother who got the recipe from an interview Ilhan Omar did where she talked about how using egg roll wrappers made hers special.
Ingredients (generally makes 4-6):
- Egg roll wrappers
- Cooking oil (non-flavor or by preference)
- Ground beef (85% lean)
- Seasoning mix of choice (suggested: curry or goat meat powder)
- Water (for sealing egg wrap around filling)
- Minced green onions
- Minced garlic cloves
- Finely cut onions
- Salt/grounded black pepper
*Amounts can vary depending on how many servings you’re making, and what meat/vegetable/spice ratio fits you best.
You’ll need a skillet, and at least one vegetable knife, and a skimmer. Also a plate.
Creating the filling:
- In a large bowl, mix together your seasoning mix + salt and pepper with the ground beef well. Toss your minced onion, green onion, and garlic clove in according to the meat to veggie ratio you want. After adding, mix well into one complete filling for the sambusa
Preparing the shell of the sambusa:
- On a baking sheet, lay your egg roll wrappers down and cut them diagonally to form triangles.
Shaping the sambusa:
- Place a tablespoon or less of the filling mix onto an egg wrap triangle, and use water to wet the edges before wrapping the bottom corners up and onto each other to form a triangle shape around the filling.
Cooking and serving:
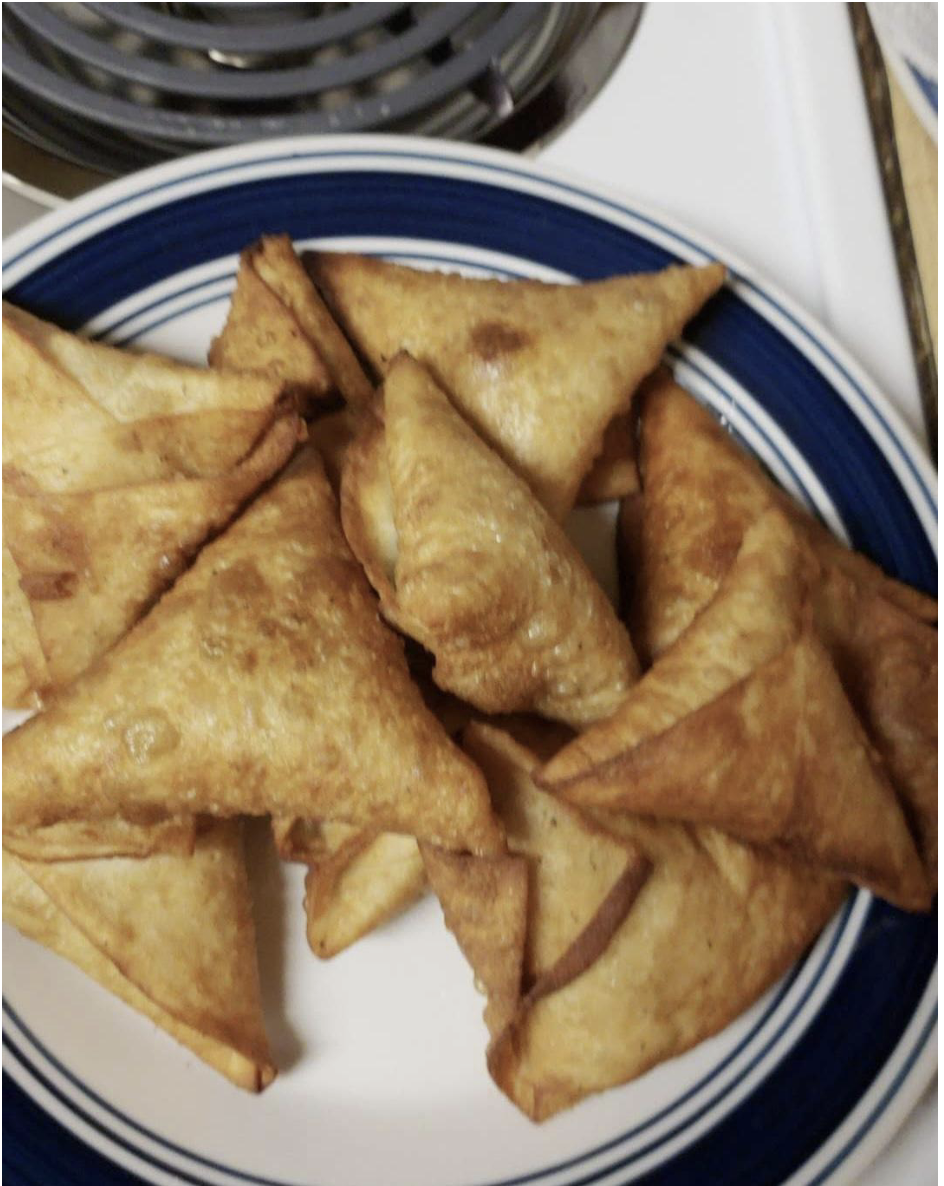
- Fill the skillet up with one or two tablespoons of oil and turn the stove to medium-high heat, after waiting for the oil to heat up, place your sambusa into the skillet. Turn gently with cooking tongs until the outer layer is golden-brown. Use a skimmer to lift the sambusa out, one at a time, and allow for the excess oil to drip off. Place on a plate. Wait for the sambusa to cool down enough to enjoy.
I hope this recipe/guide was helpful, have fun with making sambusa!