By: Nils Hilleson
Ingredients:
- 1/2 cup whole milk
- 2 1/2 teaspoons active dry yeast
- 1 teaspoon granulated sugar
- 2 1/2 cups all purpose flour
- 2 teaspoons kosher salt
- 1 1/2 teaspoons baking powder
- Unsalted butter for greasing the pans and rings
Equipment:
- 4 (3 1/2 inch) crumpet rings
- Pans/skillet/griddle
Steps:
Microwave milk in a bowl until warm to the touch (around 30 seconds).
Gently whisk yeast, flour and sugar into the milk.
Set aside until slightly bubbling with a layer of foam (5-10 minutes).
Combine flour, salt and baking powder in a large bowl, or the bowl of a stand mixer with the paddle attachment.
With a whisk, or mixer at medium-low speed, gradually add 1 1/2 cups warm water and the milk mixture.
Occasionally scrape the sides to remove stuck ingredients.
Mix until a runny, sticky batter has formed with small lumps (around 1 minute).
Cover bowl with clean dish towel and let the dough rest in a warm place until dough is filled with bubbles and doubled in size (1 to 1 1/2 hours).
Brush the pan with butter and grease the insides of the crumpet rings with butter.
Place the rings in the pan and place the pan over medium-high heat until hot (around 1 minute).
In batches, scoop batter into the rings (the batter should go to about half of the ring) cook for around 2 minutes (unless the pan begins to smoke) then lower the heat to medium.
Cook until the top of the crumpet is covered in bubbles (4-6 minutes).
Carefully remove crumpet rings with tongs then flip the crumpets and cook for 30 seconds to 1 minute or until tops are lightly browned.
Transfer cooked crumpets to wire rack to cool.
Repeat the above steps to use the rest of the batter.
This recipe makes 10-12 crumpets and they can be refrigerated for up to 3 days.
Review:
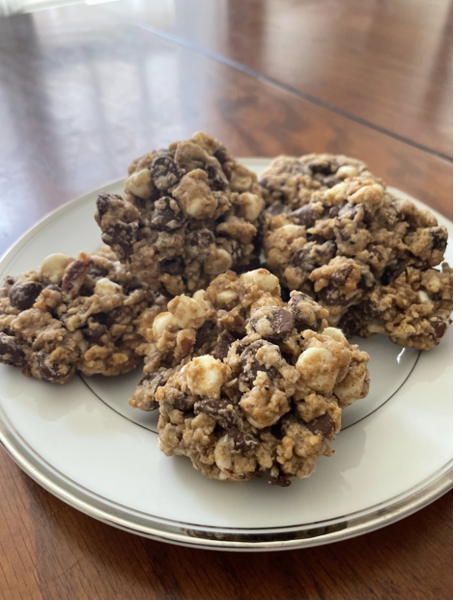
Crumpets honestly weren’t what I was expecting because I had no idea what they were. I thought crumpets were thin and crunchy but they’re pretty thick and certainly aren’t crunchy. Crumpets ended up being basically smaller, taller pancakes. Even though I didn’t have any with maple syrup I’m sure it’d taste just like a pancake if I did.
My dad has made crumpets before but this was my first time making them and I thought it was alright. Making them involved a lot less waiting than other recipients I’ve made this year and I personally liked that.
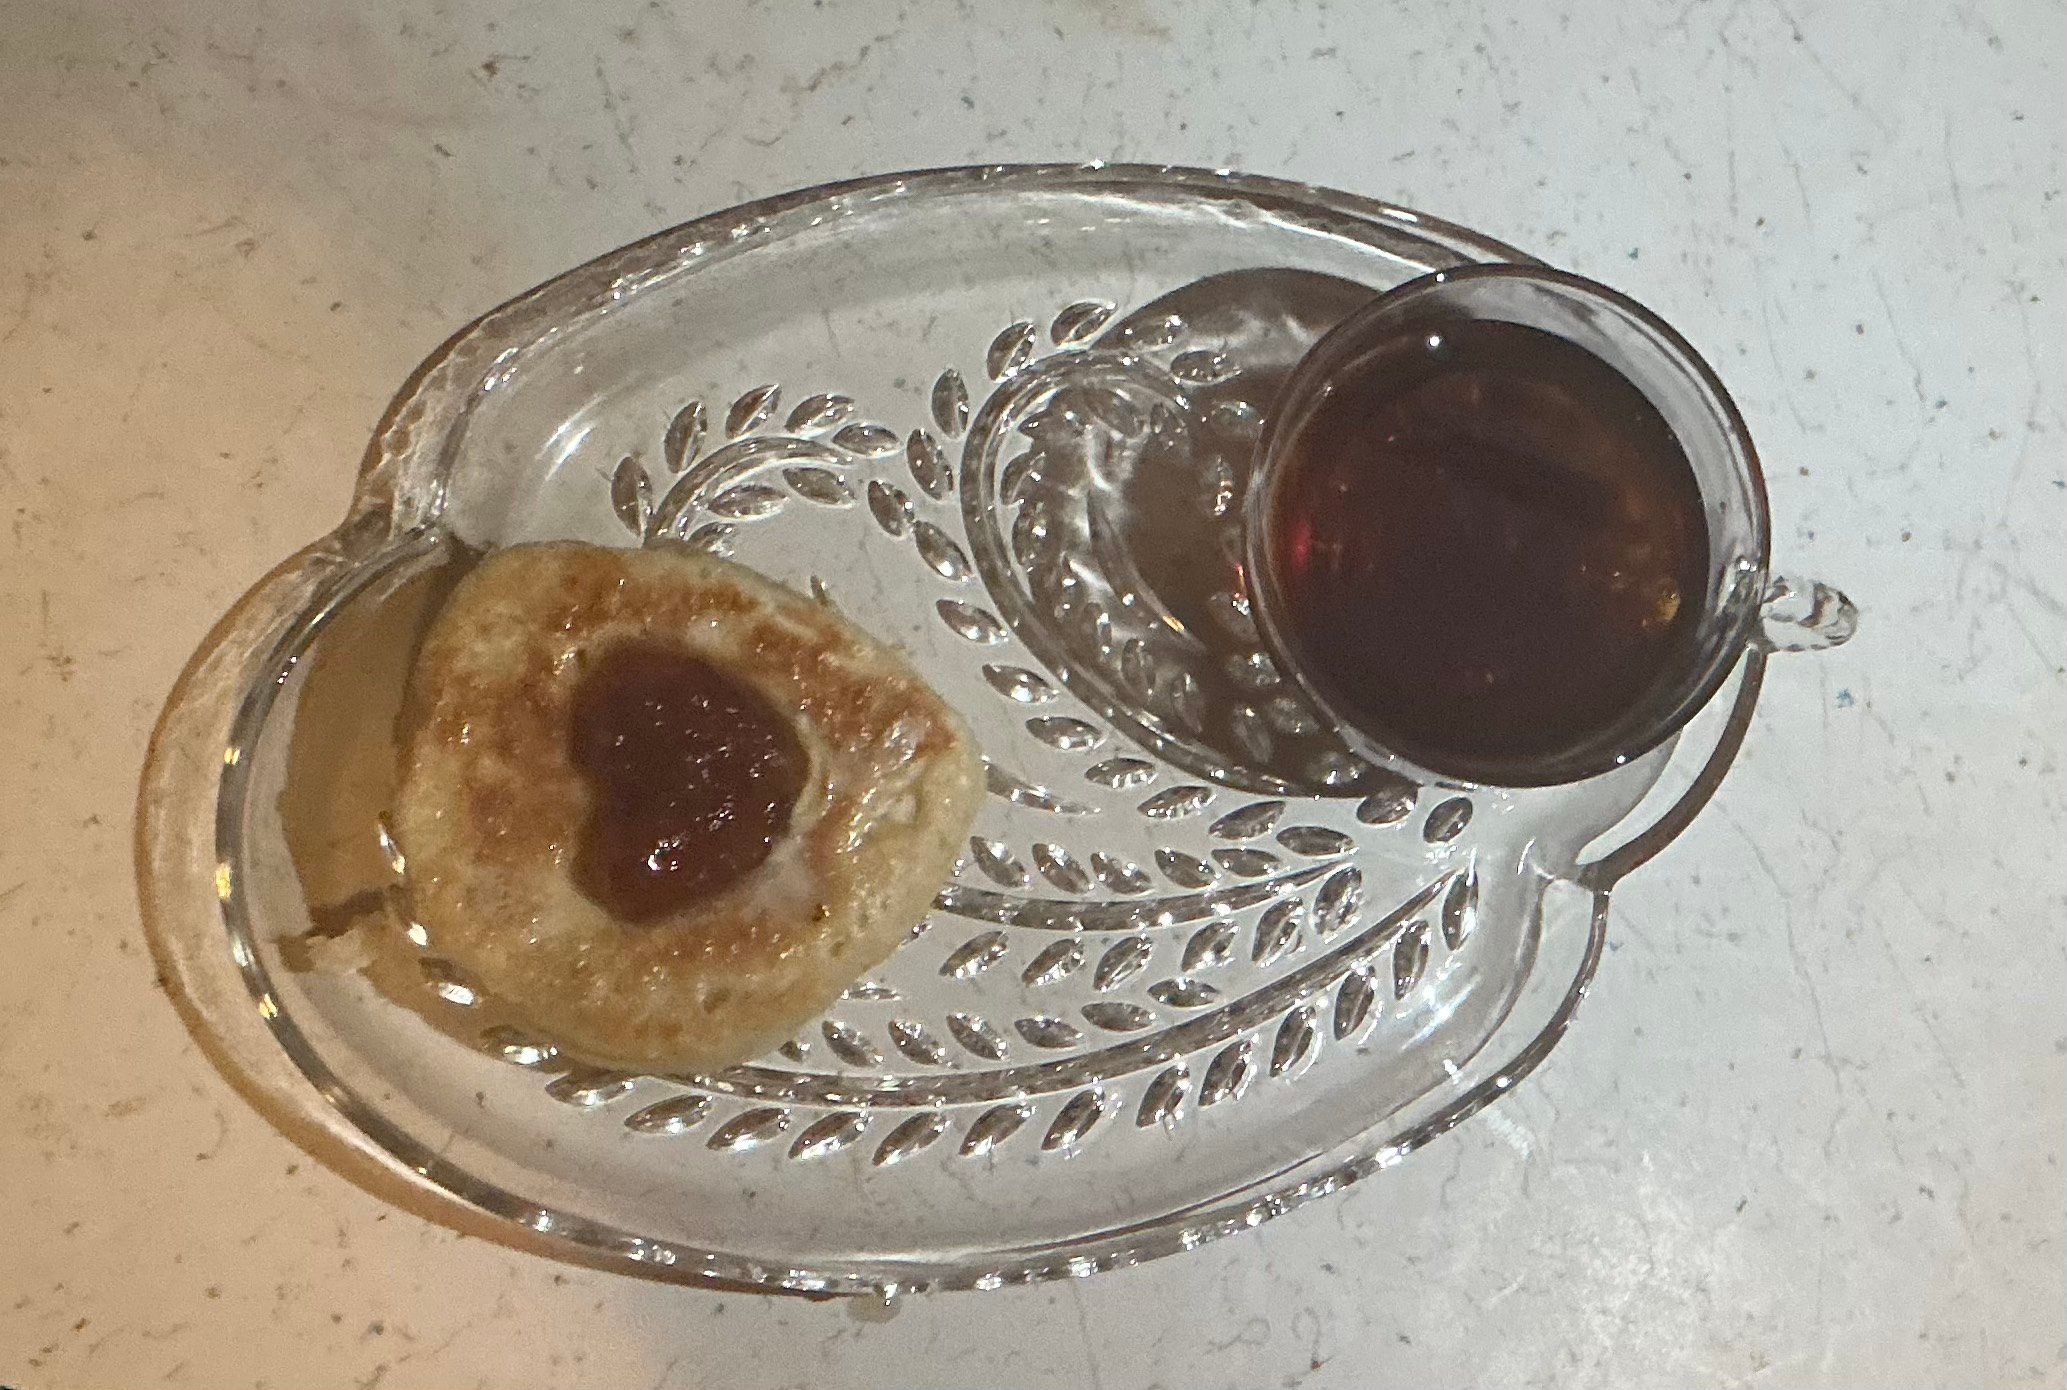
Since I had made these before Christmas I had an advent calendar and the advent calendar I had was full of tiny bottles of jelly so I was able to
use about one bottle for one crumpet which was nice.
Crumpets ended up being pretty good though I don’t like having to many in a row; I eat two maximum personally.
Overall, I like crumpets; they taste good and they’re easy enough to make even if I made a few mistakes cooking them.
This recipe is a modified version of a ‘New York Times’ recipe.